
Dead By Daylight has made it back in the headlines since publisher 505 Games revealed that the game’s next update will feature Kwon Tae-young, from K-Pop Demon Hunters, as the next Survivor to try and avoid the immense range of killers the game sics on players. While the new Survivor is already in the testing phase since late February, the game’s killer roster got an update of its own earlier than that, as January graces us with Stranger Things’ very own Vecna, which changed the entire tier of antagonists somewhat.
So now, we bring to you an updated Dead by Daylight Killer Tier List, with data compiled by Nightlight.gg.
All Death By Daylight Killers, Ranked
S-Tier
The Nurse
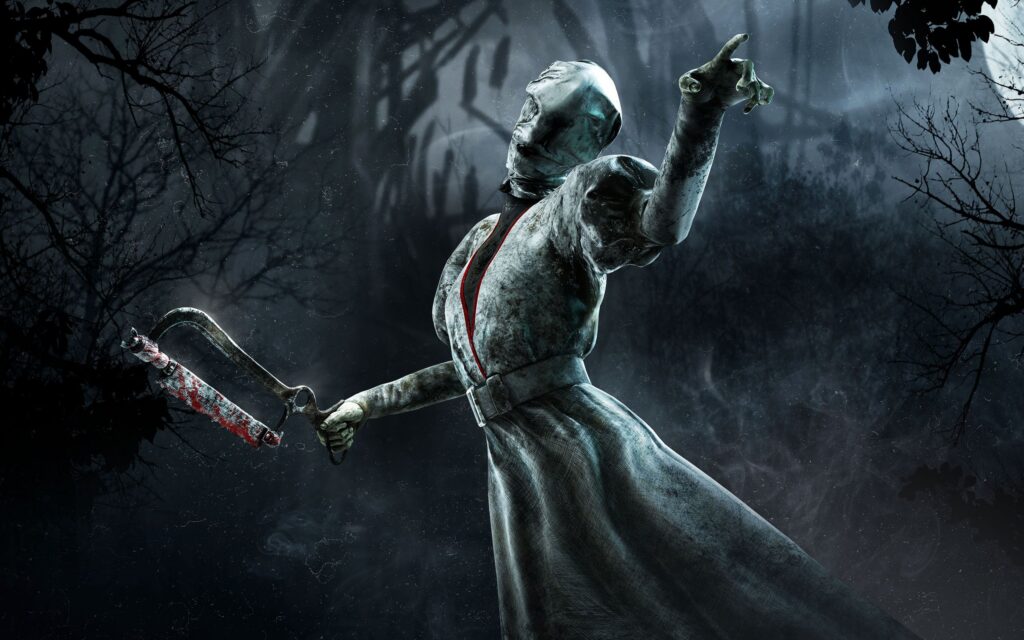
The publisher maintains that this killer is not based on Silent Hill’s very similar-looking enemy. Be that as it may, The Nurse remains the gold standard for high-tier play due to her very hard difficulty rating and the ability to ignore the game’s standard rules with her Blink power. While she currently holds a pick rate of 2.14% and a kill rate of 47.86%, she is considered the best character in the game when placed in the hands of a veteran who can chain Blinks to cover massive distances.
Her dominance is fueled by her ability to take advantage of aura-reading perks more effectively than killers who must follow standard movement rules. However, she is punishing to learn because missed Blinks result in a fatigue effect that slows her movement and allows survivors to escape.
The Blight
The Blight is an unstoppable force for those who enjoy using its Rush ability to close in on Survivors, crossing large parts of the map in little to no time. Though he is very tough to control, his power allows for a Lethal Rush after slamming into obstacles, giving skilled players a narrow but deadly window to attack.
Despite his power, he is extremely punishing for beginners; failing to hit an obstacle during a Rush results in fatigue, providing survivors a clear chance to flee. Some players argue he is even better than The Nurse, although he must still follow many of the game’s physical rules that The Nurse can simply bypass.
The Hillbilly
The Hillbilly has surged back into the S-Tier following significant buffs in update 7.5.0 that improved his movement controls. His Chainsaw Sprint is a high-reward tool that can instantly put a healthy survivor into the dying state, making him a devastating choice for players who prioritize quick hooks and slugging.
While he remains relatively easy to avoid if survivors have good positioning, an expert “Billy” can end a match in just a few minutes. His current standing reflects a shift where his formerly clunky movements have been refined into a top-tier threat.
A-Tier
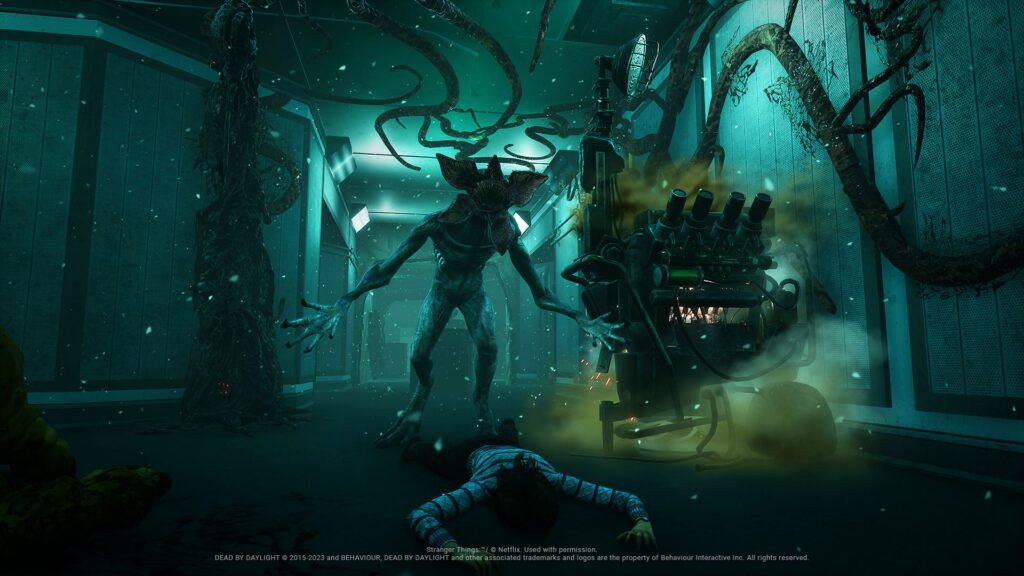
The First (Henry Creel)
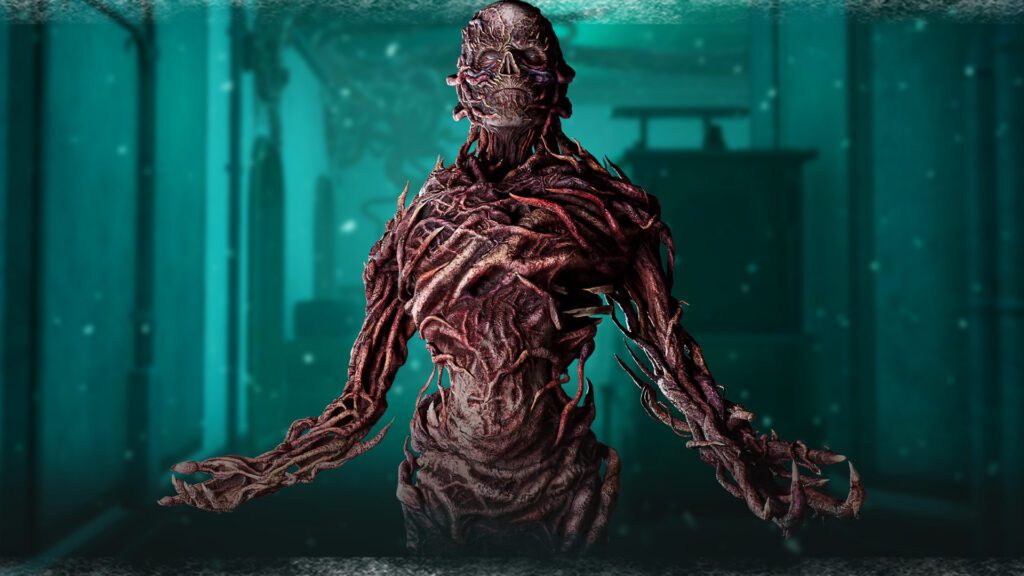
This killer has brought confusion to non-Stranger Things fans, as Henry Creel, a.k.a. “The First” is Vecna, but this is not “the” Vecna, as you’ll learn from another killer on this list. Gracing the horror game on a Stranger Things collab, The First uses his “Undergate” power for rapid map-wide traversal and his “Worldeater” vine attacks to injure or zone survivors. He is considered extremely lethal in “World Breaker” mode, which offers some of the best anti-loop capabilities currently available in the fog.
He just misses out on the S-Tier because he requires extensive map knowledge and suffers from a painful cooldown on his Undergate ability. Additionally, survivors can counter his vine attacks relatively easily if they remain observant of his ground-based projectiles.
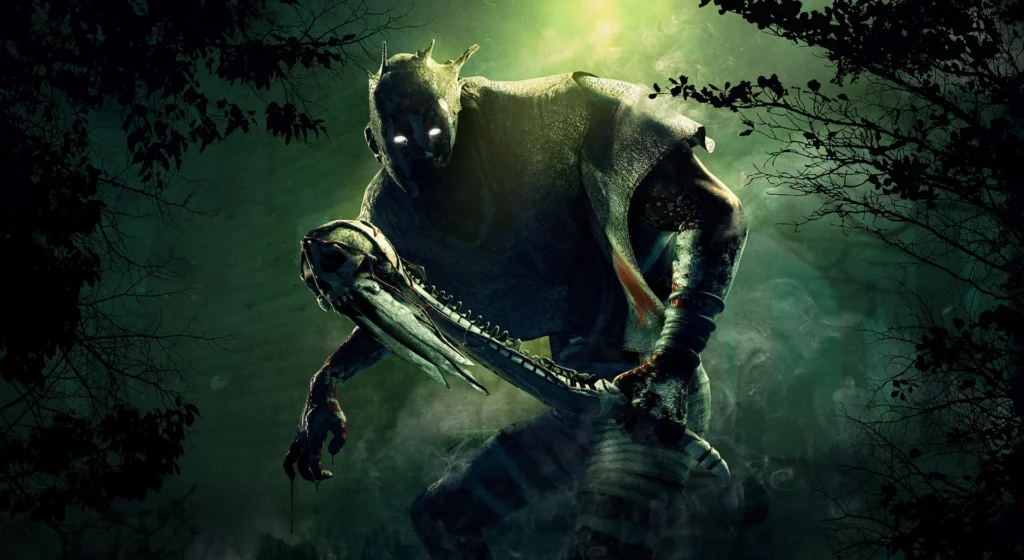
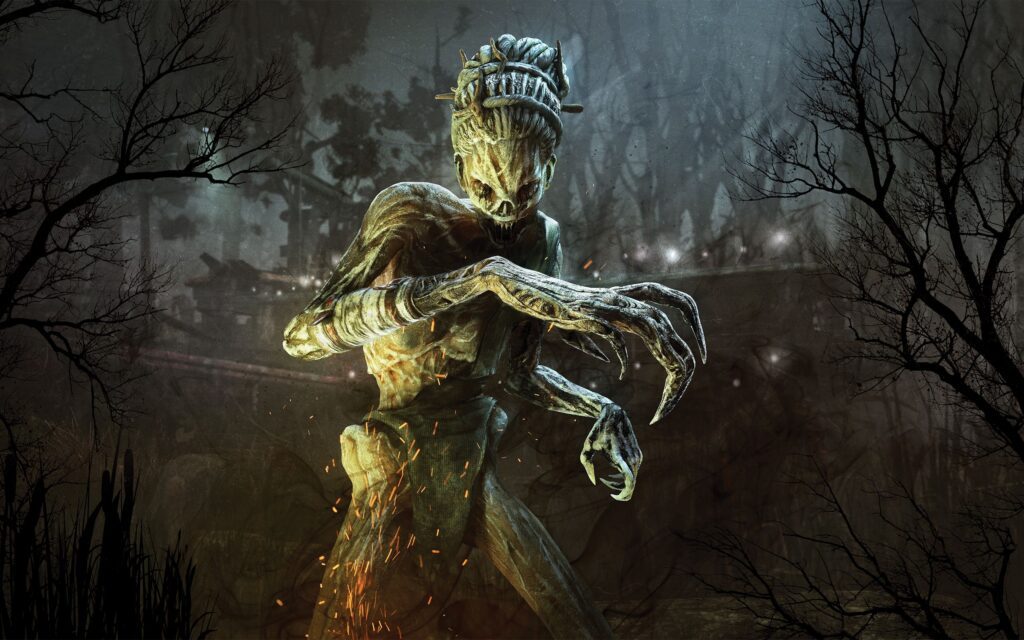
The Krasue
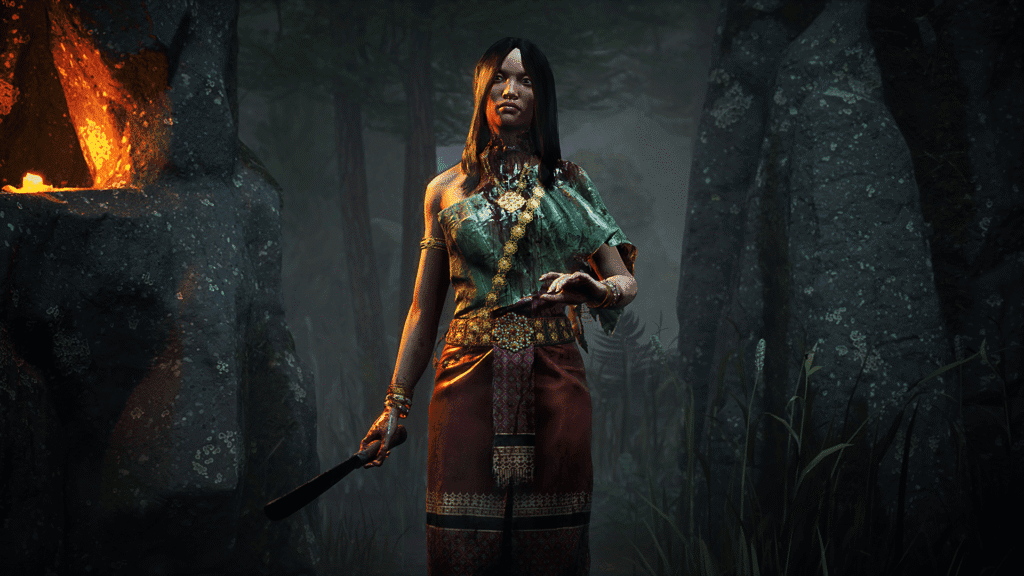
Based on traditional Thai folklore, the Krasue is a unique killer who transforms into a disembodied head to hunt her victims with increased stealth and speed. In this form, she can “Leech” survivors with a projectile attack, eventually allowing her to injure and take them down directly.
While highly lethal, she is currently regarded as clunky due to nerfs that slowed her speed when vaulting pallets. Survivors can also counter her by bodyblocking her head form or by consuming glowing fungi found near her transformation sites to remove the Leech effect.
The Ghoul (Ken Kaneki)
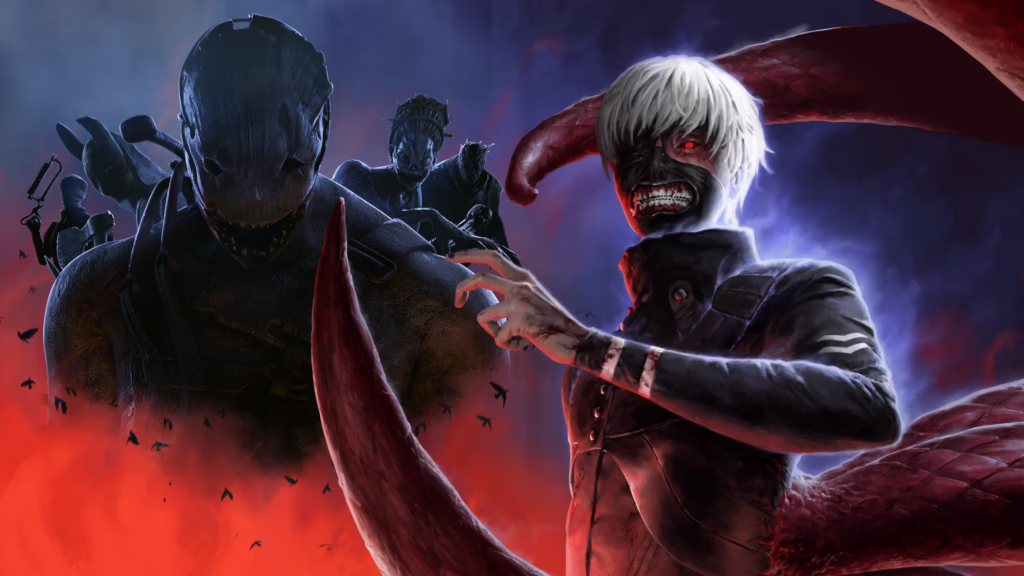
Tokyo Ghoul’s own Ken Kaneki is one of the most popular additions to the Dead By Daylight killer roster, due to his incredible mobility provided by his Kagune. This power allows him to spring across the map and overwhelm survivors at loops, giving them very few ways to avoid injury in short-range encounters.
He is considered a strong A-Tier choice because he is relatively easy to learn compared to other high-tier killers. However, he is held back from S-Tier by in-built cooldowns and the mechanical necessity to keep his power active throughout the match.
The Spirit
The Spirit remains a premier mind-game killer who uses her phasing ability to move invisibly at increased speeds. While she was once a top-two contender, she has slipped slightly as survivors have gained more counterplay options and her formerly “busted” add-ons have been balanced.
She is heavily reliant on high-quality audio and environmental cues, such as disturbed grass or spooked wildlife, to track survivors while phasing. Without specific add-ons like the “Rusty Flute,” her cooldowns can be quite punishing, especially against survivors using the “Iron Will” perk.
The Wraith
The Wraith is a highly accessible “jack-of-all-trades” killer who uses his Wailing Bell to become nearly invisible while gaining a significant movement speed boost. This allows him to sneak up on survivors who are focused on repairs or healing, though he must uncloak before he can land a hit.
While he is a staple in competitive play, he is considered very add-on reliant and has suffered from meta shifts that weakened “hit and run” strategies. Mastery of the Wraith comes down to knowing the exact moment to uncloak to catch a survivor off-guard.
The Lich (Vecna)
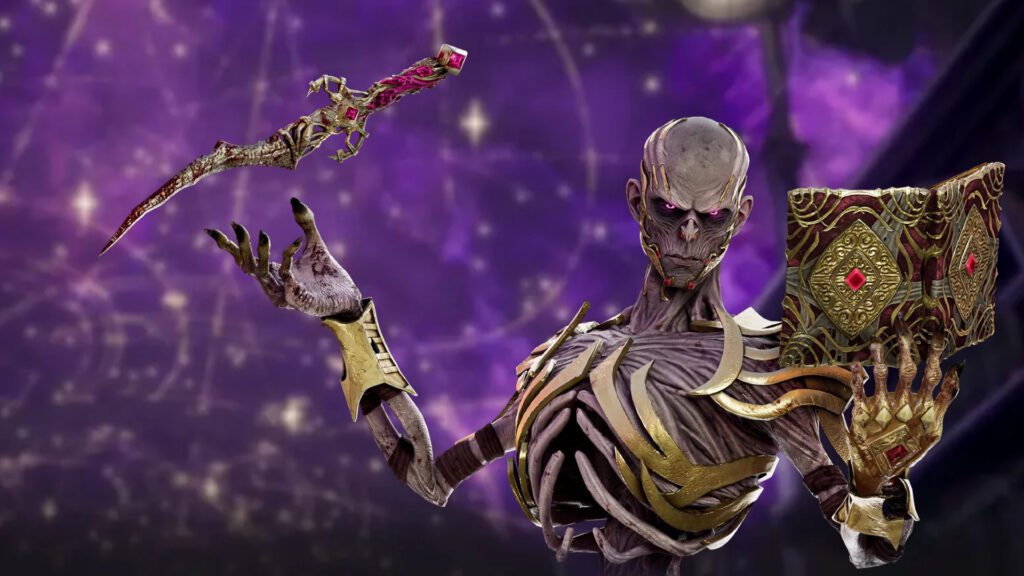
The Lich is the original Vecna, from the Dungeons and Dragons games to which Stranger Things draws its inspiration, and he introduces a complex “spell wheel” mechanic, allowing players to choose between four distinct powers: Flight, Mage Hand, Damning Projectiles, and an aura-revealing sphere. He currently maintains a pick rate of 1.99% and a solid kill rate of 53.53%.
Once players overcome the learning curve of his four spells, he can control large portions of the map simultaneously. However, experienced survivors can effectively check him if they understand how to time their movements around his spell cycles.
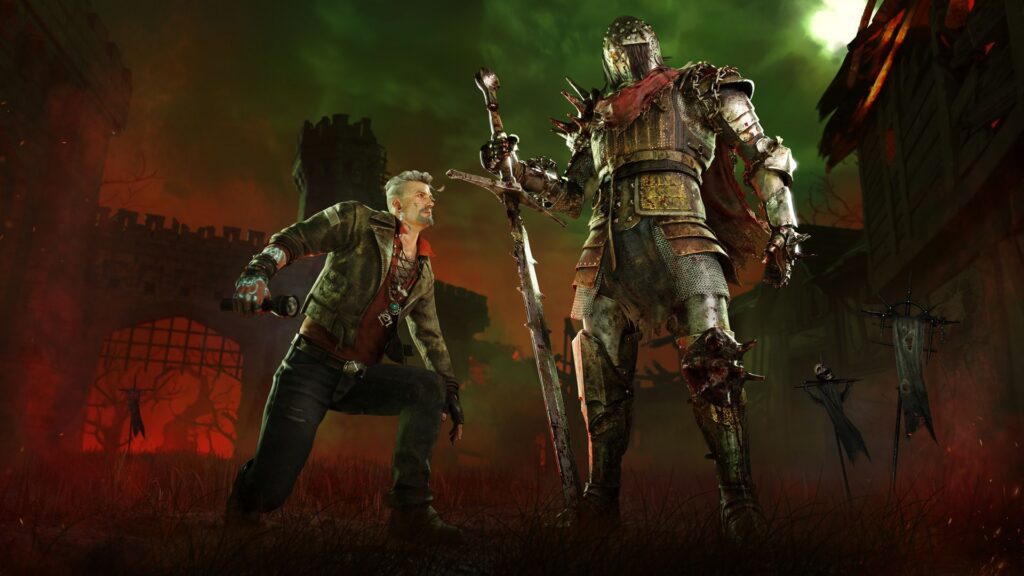
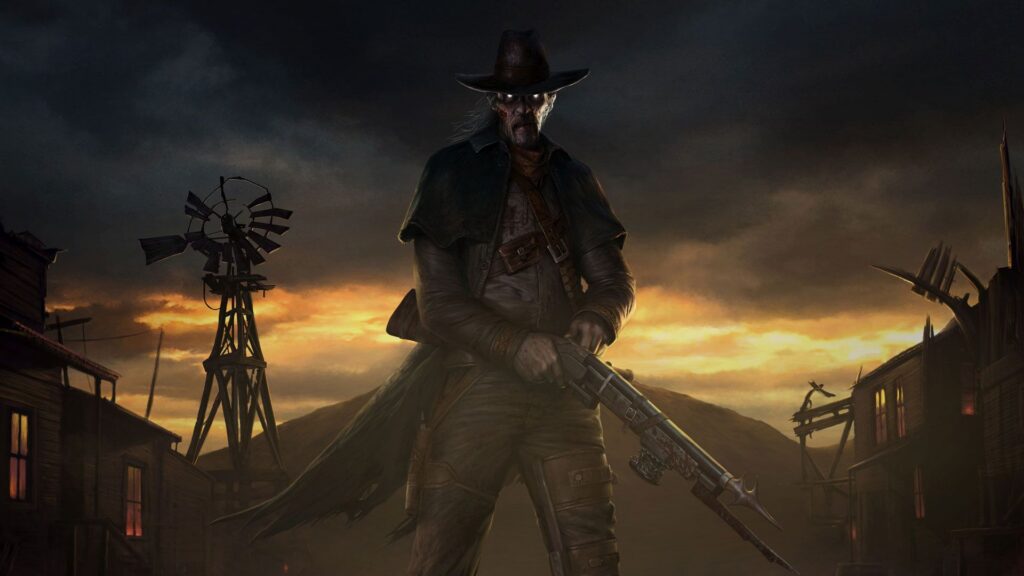
The Dark Lord (Dracula)
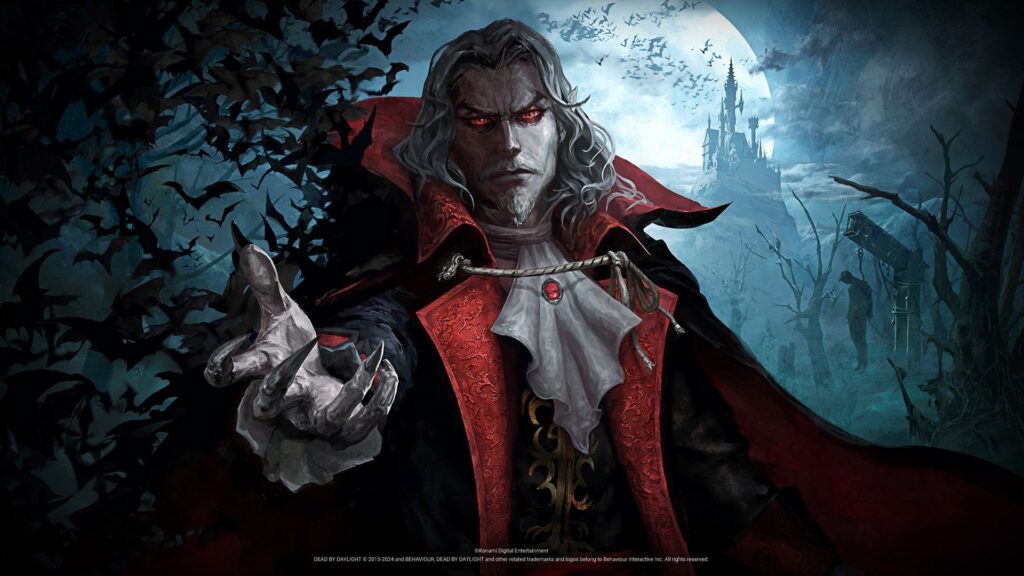
While there is some discussion about The Nurse being a licensed character from a Konami franchise, The Dark Lord is undoubtedly that, as this Dracula, is the legendary antagonist of vampire-hunting series Castlevania.
As the game’s first true shape-shifting killer, The Dark Lord is able to switch between Vampire, Wolf, and Bat forms to track and chase survivors. His versatility is his greatest strength, offering teleportation, lunge attacks, and fire-based projectiles in a single kit.
He is currently ranked among the top five strongest killers, often outperforming the Spirit in high-level competitive scenarios. While switching between his many forms takes practice, having such a wide variety of tools makes him a top-tier threat.
The Huntress
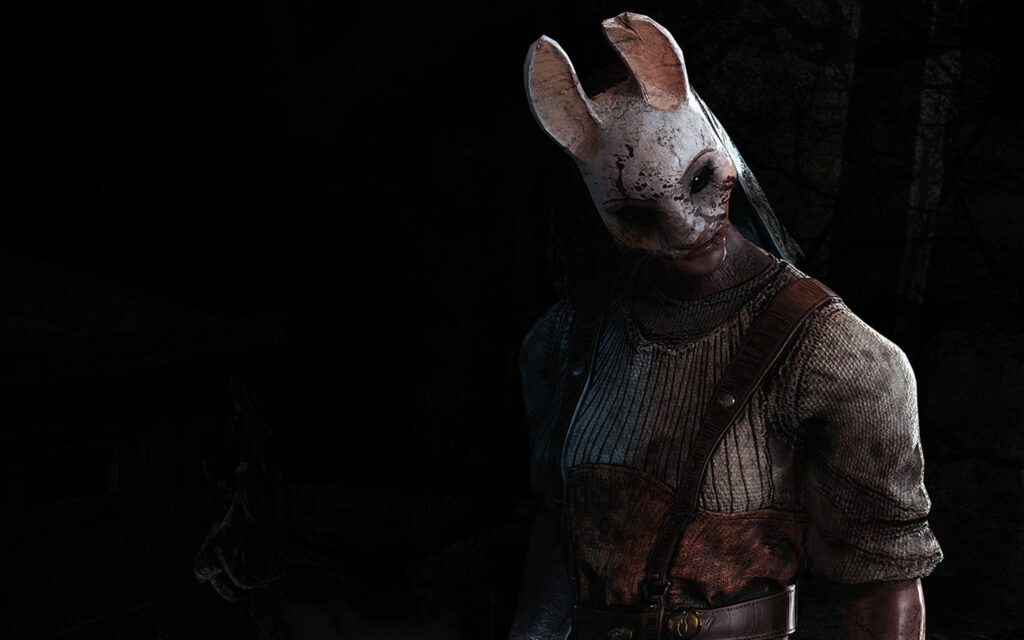
The Huntress was the game’s first ranged killer, and she remains a top-tier choice for players with a sharp eye and steady aim. Her Hunting Hatchets allow her to take down survivors from a distance, often ending chases in seconds at loops with low cover.
However, she is limited to carrying only five hatchets and must frequently restock from lockers, which can break her momentum. While she lacks the pure mobility of other A-tier killers, her ability to hit survivors over pallets and through windows is a massive advantage.
The Xenomorph
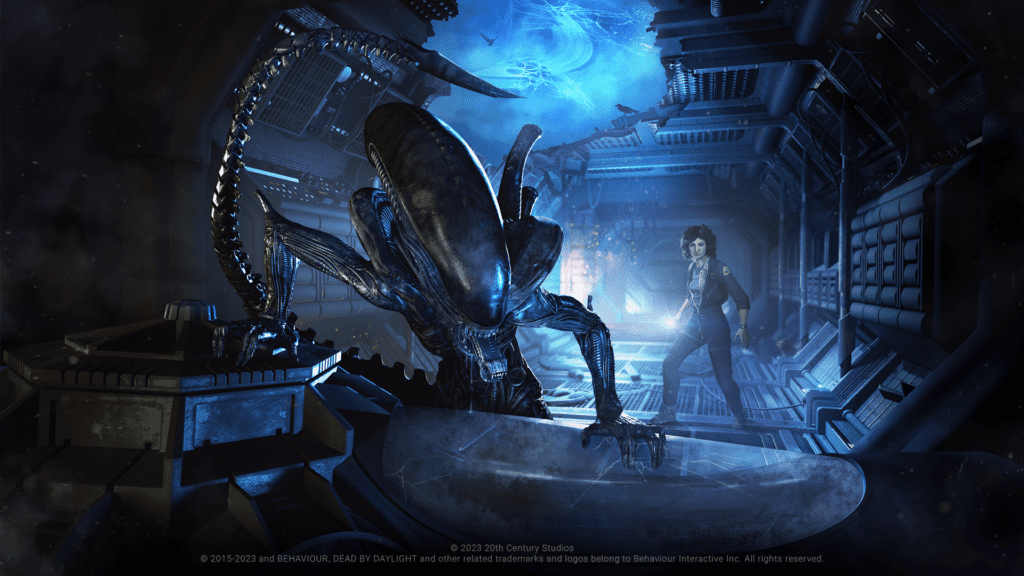
Much like its Alien movies’ counterpart, The Xenomorph provides relentless map pressure through its unique network of underground tunnels. While submerged, it can hear generators and see the footsteps of survivors above ground, allowing it to locate and ambush targets within moments of a trial starting.
Its tail attack is a powerful chase tool that is notoriously difficult to dodge. However, it is held back by the flame turrets that survivors can place to reveal the killer and disable its power, forcing the Xenomorph to constantly destroy obstacles.
The Executioner (Pyramid Head)
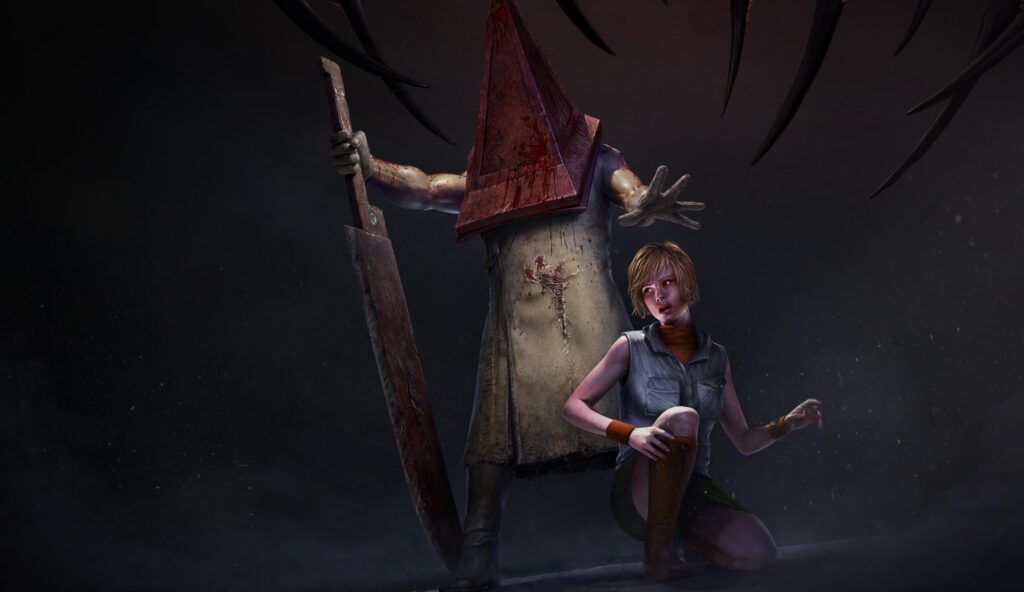
Another Silent Hill staple, The Executioner is a complex, very hard killer whose “Rites of Judgement” allows him to carve trails that inflict “Torment” on survivors. He currently holds a 1.54% pick rate and a 48.21% kill rate.
His greatest strength is the ability to bypass hooks entirely with “Final Judgment,” instantly killing survivors who are on their final hook state. He is a powerhouse when played well, especially if the player prioritizes infecting the whole team to enable these instant kills.
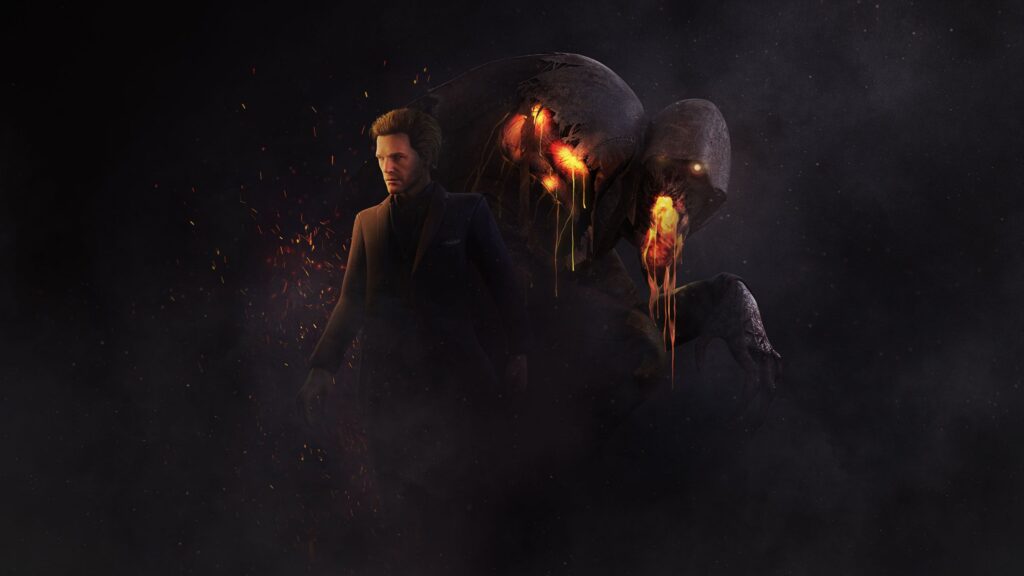
The Mastermind (Wesker)
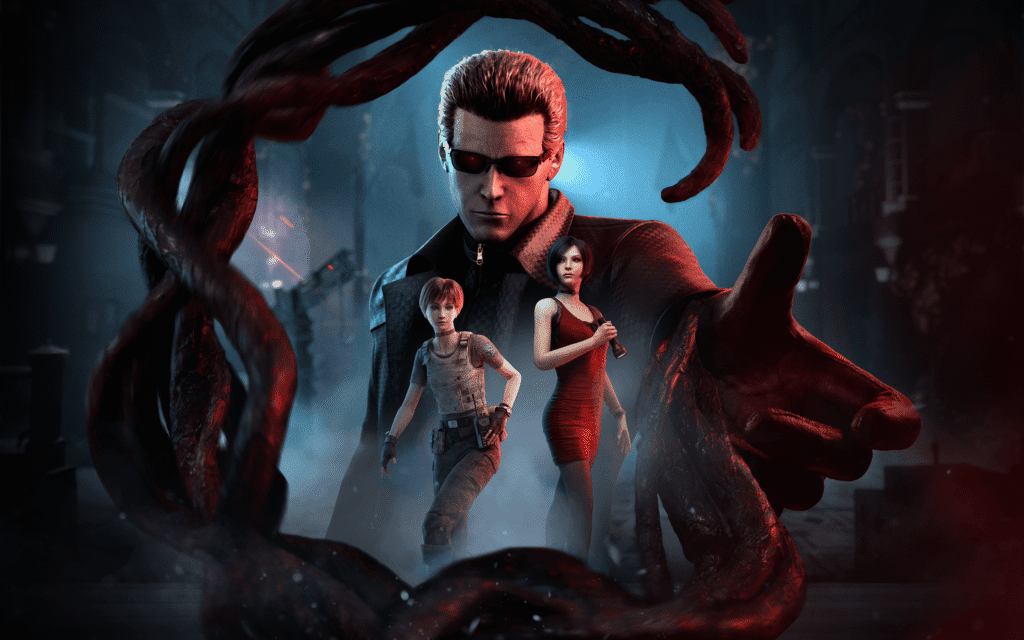
Albert Wesker, one of Resident Evil’s most charming villains, dons the name of “The Mastermind” and remains a highly popular choice for his “Virulent Bound” lunge, which infects survivors with the Urobros Virus. This infection provides a built-in slowdown, as survivors must search for First Aid Sprays to avoid being instantly picked up upon a subsequent hit.
He features a decent early game and can use advanced techniques like “Urobending” to make his dashes almost impossible to react to. Though he is slowly being power-crept by newer, more complex killers, his consistent pressure keeps him firmly in the A-Tier.
The Nightmare (Freddy)
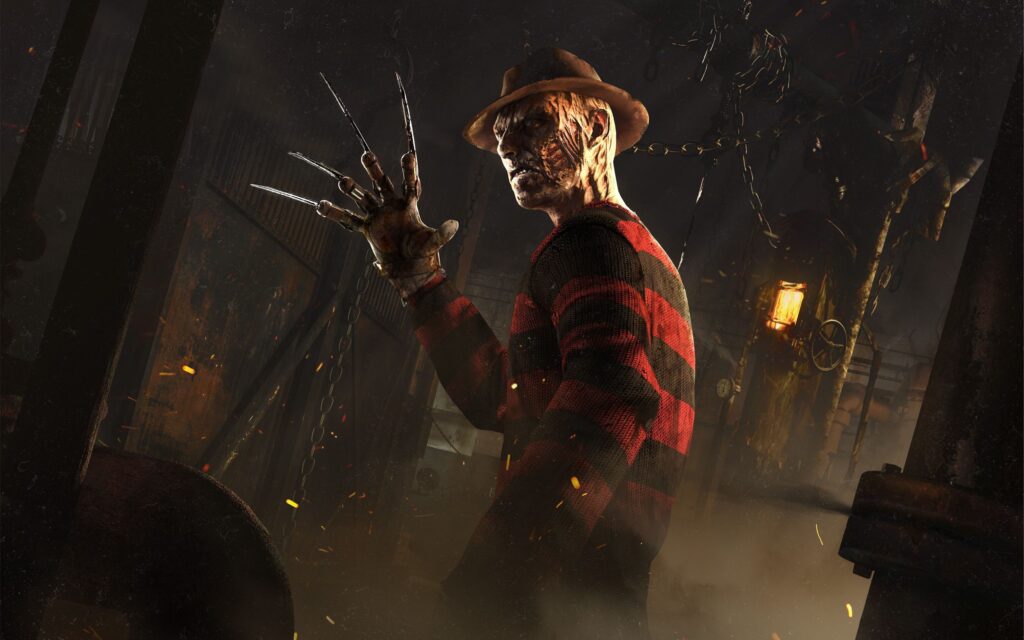
Straight from the movies based on Elm Street and your most horrible dreams, Freddy Krueger’s The Nightmare surged into the A-Tier following a major overhaul that granted him both Dream Pallets and Dream Snares simultaneously. As survivors fall asleep, they lose the ability to hear his Terror Radius and become vulnerable to his dream-based traps.
While he has map-wide teleportation and can even teleport to survivors who are healing, his power is significantly weakened against survivors who stay awake using alarm clocks. He is effectively an average M1 killer until he can pull his victims into the Dream World.
The Animatronic (Springtrap)
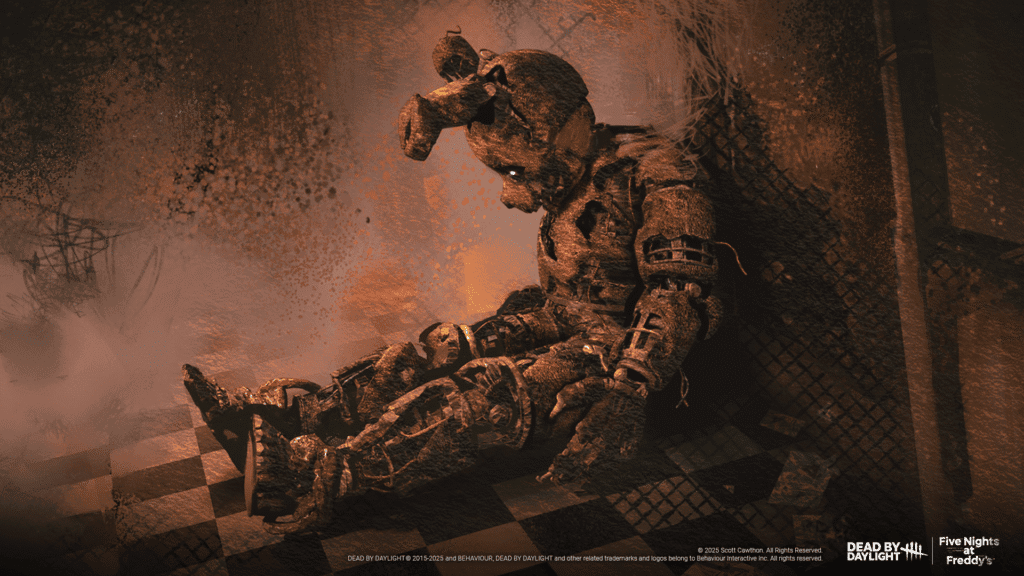
The Animatronic (from Five Nights at Freddy’s) provides high mobility by using security room doors to jump across the map, allowing for effective generator patrolling and jump scares. He is considered a strong A-tier addition because of his map control and unique traversal.
His main weaknesses are a slow base movement speed and a sharp drop-off on his fire axe ranged attack, which takes time to master. If a player misses their axe throws, they are heavily punished, making them somewhat map-dependent.
B-Tier
The Good Guy (Chucky)

Coming from a very questionable Child’s Play remake and a pretty decent TV show, Chucky’s The Good Guy is a small but brutal killer whose “Hidey-Ho Mode” renders him undetectable and allows him to sneak up on unsuspecting survivors. His diminutive size is his greatest asset, as he is often shorter than windows and obstacles, making him nearly impossible to track in a chase.
Even after minor nerfs to the manoeuvrability of his “Slice and Dice” attack, he remains a powerhouse for both beginners and experts. He is widely considered one of the most brutal and effective killers in the current B-Tier.
The Houndmaster

The Houndmaster uses her dog, Snug, to latch onto survivors and halt their movement entirely. This acts as a powerful form of crowd control, allowing her to pincer survivors at loops by sending the dog one way while she goes the other.
Despite some early bugs, she is a lethal killer who maintains constant pressure during chases. Coordinated survivors often find they must work together just to secure a hook save against her proxy-camping potential.
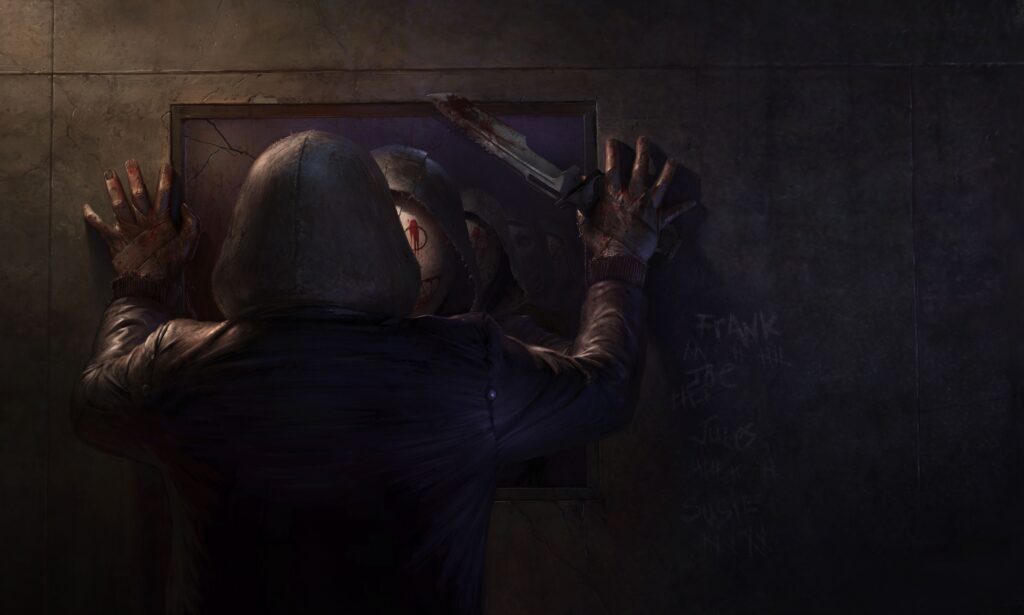
The Unknown
The Unknown is a versatile killer that hurls explosive UVX projectiles to weaken survivors before downing them. It also leaves Hallucinations around the map that act as rapid teleportation points, giving it significant map presence.
While survivors can look at the killer to remove the weakened effect, the UVX blast can still be used to force survivors away from safe loops and into basic attacks. It is considered one of the scariest and most fun original killers to play.
The Trickster

Inspired by the K-pop fever from a few years ago, The Trickster can unleash a rapid-fire barrage of blades to quickly fill a survivor’s Laceration Meter. While he is deadly when survivors are caught in the open or at low-cover loops, his movement speed drops significantly while he is using his power.
Success with the Trickster is entirely dependent on the player’s aim; without it, he provides almost no benefit over a basic killer. Despite nerfs that reduced the hits needed for his “Main Event,” he remains a relatively unpopular choice as a main.
The Knight
The Knight is a complex killer who can summon three different guards to patrol, damage generators, or hunt survivors. He currently holds a 2.02% pick rate and a 48.94% kill rate.
A skilled Knight can pressure multiple survivors at once or guarantee hits at pallets by using his guards to pincer victims. He is particularly effective at punishing survivors who camp pallets or drop them prematurely.
The Doctor

The Doctor uses “Carter’s Spark” to inflict Madness, which causes survivors to scream and reveal their locations while making skill checks significantly harder. This power is excellent for slowing down generator progress and finding stealthy survivors.
While he is a strong choice for locating victims, he is often regarded as “add-on reliant” and can be slow in physical chases. Mastery of the Doctor requires a high level of accuracy with his spark to prevent survivors from vaulting or dropping pallets.
The Nemesis

Leaving the streets of Resident Evil’s Raccoon City to torment Dead by Daylight Survivors, The Nemesis features a 2.80% pick rate and a 52.51% kill rate, using a tentacle for ranged attacks and zombies for passive tracking. As he infects survivors with the T-Virus, his power grows, eventually allowing him to break pallets and move faster.
The zombies can provide valuable information by alerting the killer to a survivor’s location, even if they don’t land a hit. However, the T-Virus adds an extra health state that survivors can often use to their advantage in the early game.
The Artist

The Artist can send out Dire Crows to injure survivors or swarm them to reveal their exact locations. This combination of long-range tracking and zoning makes it easy for her to take down multiple survivors in quick succession.
However, her power requires a careful balance; misplaced crows do nothing and can actually alert survivors to the killer’s position. She is a strong B-Tier choice but requires consistent accuracy to be truly effective.
The Singularity

The Singularity uses biopod cameras to teleport directly to them and break through obstacles. While he is arguably S-tier in potential, he is held back by the high level of map knowledge required to place his pods effectively.
Survivors can counter him by using EMPs to disable his biopods, though recent buffs have made him much more oppressive and difficult to deal with. He remains a high-effort, high-reward killer for dedicated players.
The Dredge

The Dredge excels at map control through locker teleportation and the ability to plunge the trial into darkness during Nightfall. It currently holds a 1.37% pick rate and a 53.57% kill rate.
While its ability to jump between lockers is sublime for stopping generator progress, it is highly map-dependent and makes a lot of noise. Survivors can also lock lockers to slow the Dredge down and reveal its location.
C-Tier
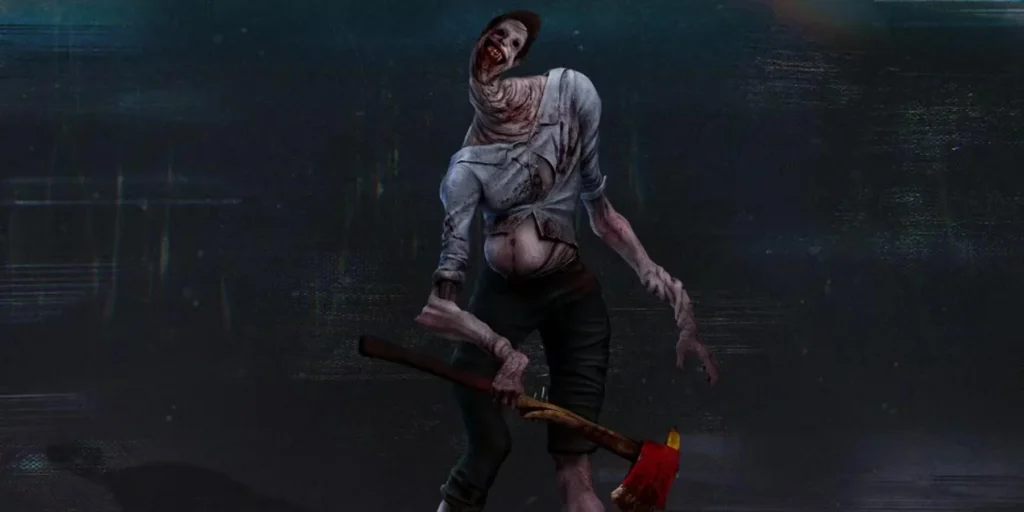
The Legion
The Legion is excellent at slowing down the game by forcing survivors to mend deep wounds after being hit during “Feral Frenzy”. However, they struggle to actually down survivors, as their power requires five hits for a down rather than the standard two.
They are considered an easy killer who is great at prolonging a match but often struggles to secure sacrifices against efficient teams. If they miss a hit during their frenzy, they are heavily punished by a stun that allows survivors to escape.
The Plague

The Plague has a high kill rate of 54.91% despite a low pick rate of 1.31%, largely because her infection forces survivors to either stay injured or grant her a powerful ranged attack. She can infect generators and objects to spread her plague passively.
However, coordinated teams can counter her by refusing to cleanse at fountains, leaving her with only her basic movement speed and a standard melee attack. This can make it difficult for her to sacrifice all four survivors before the generators are finished.
The Hag
The Hag relies on placing “Phantasm Traps” to teleport to survivors, but she has slipped in the rankings due to meta shifts and survivor perks. She currently maintains a 0.59% pick rate and a 51.04% kill rate.
She requires a massive amount of preparation time to set her traps, and alert survivors can often avoid or wipe them away entirely. Her success is frequently tied to specific perks that have become less effective in the current version of the game.
The Deathslinger
The Deathslinger uses a harpoon rifle to reel survivors in for a hit, but he is heavily punished with a stun if the chain breaks. He currently has a 2.57% pick rate and a 47.14% kill rate.
While his power is unique and satisfying, his lack of map-wide pressure makes him struggle on larger maps. He is particularly vulnerable to survivors who use walls or rocks to break the harpoon’s line of sight.
The Oni
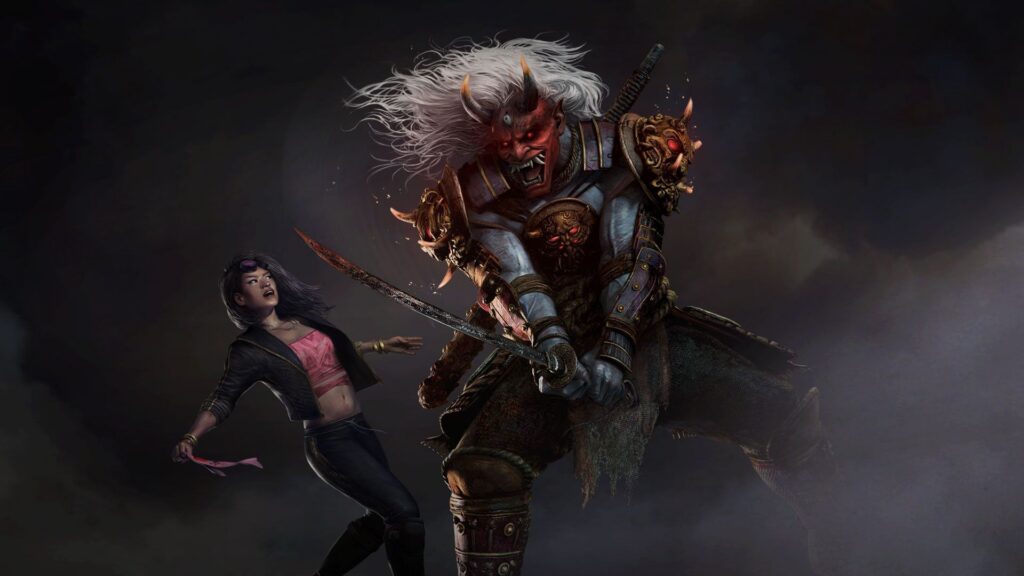
The Oni is a very hard killer who becomes a powerhouse once he absorbs enough blood to activate his “Demon Dash” and “Demon Strike”. His greatest weakness is his slow start, as he must land standard hits to begin collecting the blood needed for his power.
Against survivors who drop pallets early or use efficient healing, he may struggle to activate his power until several generators are already done. Once he enters his enraged state, however, he can take down healthy survivors instantly and cover massive distances.
The Twins

The Twins feature a high 57.14% kill rate but a very low 0.60% pick rate, as Charlotte and Victor allow the player to pressure two areas at once. Recent quality-of-life adjustments have fixed many of their most problematic bugs.
Despite their lethality, they are extremely vulnerable to the current healing meta and can be countered by survivors who pair up to kick Victor. They require a significant amount of effort and map awareness to master.
The Pig
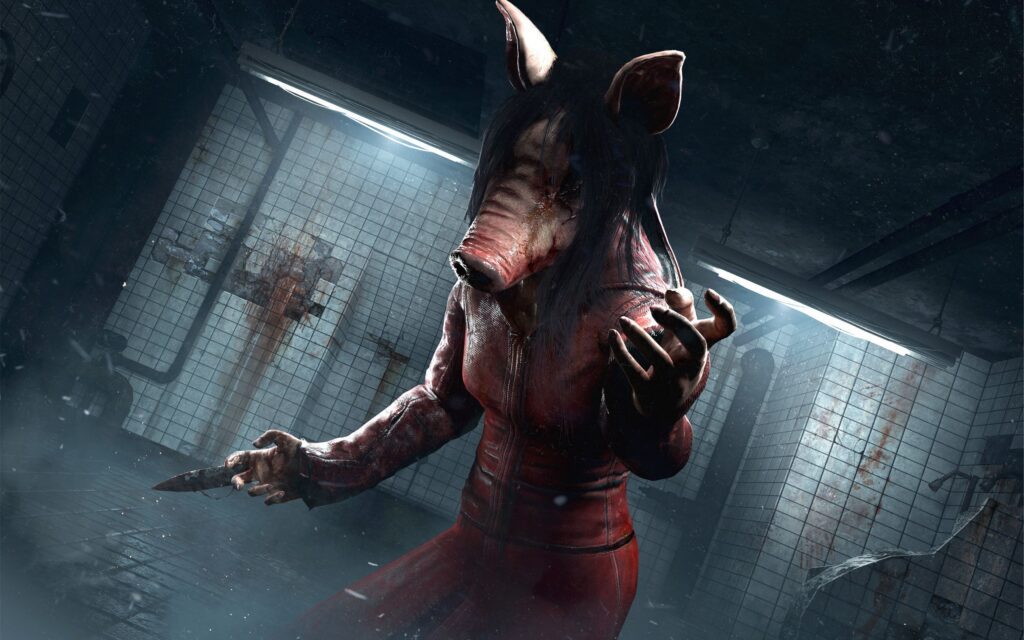
Amanda Young from the Saw movie franchise is featured in Dead By Daylight as The Pig, and she uses “Reverse Bear Traps” to force survivors into a deadly side quest to remove the traps before they explode. She maintains a 2.05% pick rate and a 54.61% kill rate.
While her traps provide excellent passive slowdown, her success is often tied to luck, and her dash attack is considered only average in a chase. She struggles against survivors who efficiently leave loops before she can utilize her dash.
The Clown
The Clown uses a purple tonic to slow survivors and a yellow antidote to speed himself up, making him a strong zoning killer. Recent updates have increased the number of potions he can carry, slightly improving his effectiveness in chases.
However, he lacks any real map control and is often countered by survivors who pre-run or drop pallets early. Success with the Clown requires perfect aim and a deep understanding of how to switch between his two potion types.
The Ghost Face
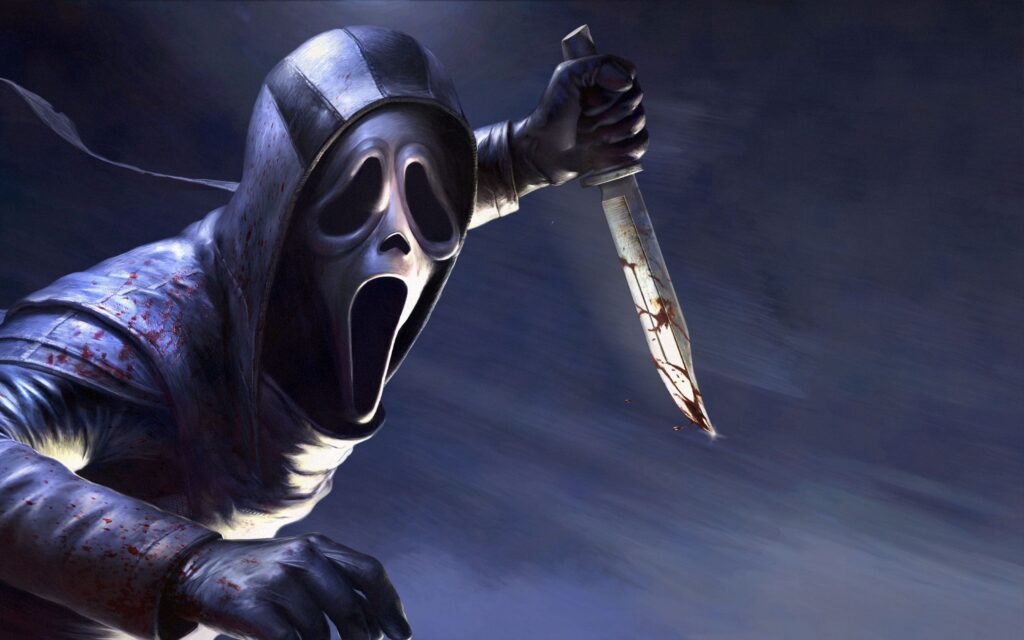
Another imported character, Scream! The movie franchise’s own murderer, The Ghost Face, is a stealth-heavy killer who can crouch and stalk survivors to leave them exposed for an instant. He excels at catching lone survivors off-guard by rendering himself “Undetectable” and removing his Terror Radius.
He is essentially a basic killer without his power, and coordinated teams can easily reveal him, rendering his stealth useless. His reliance on specific maps and relatively weak add-ons keeps him firmly in the C-Tier.
D-Tier
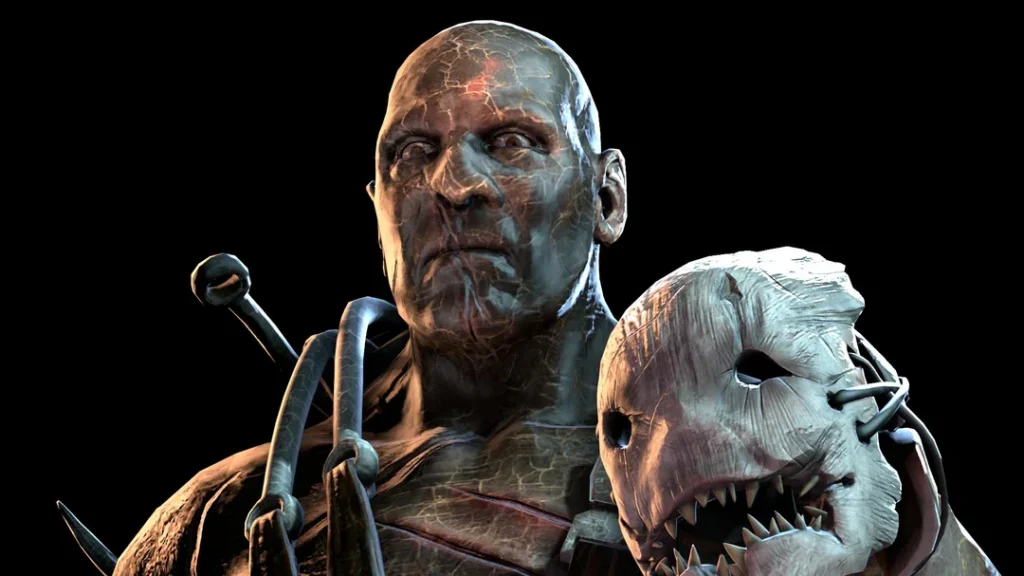
The Cannibal
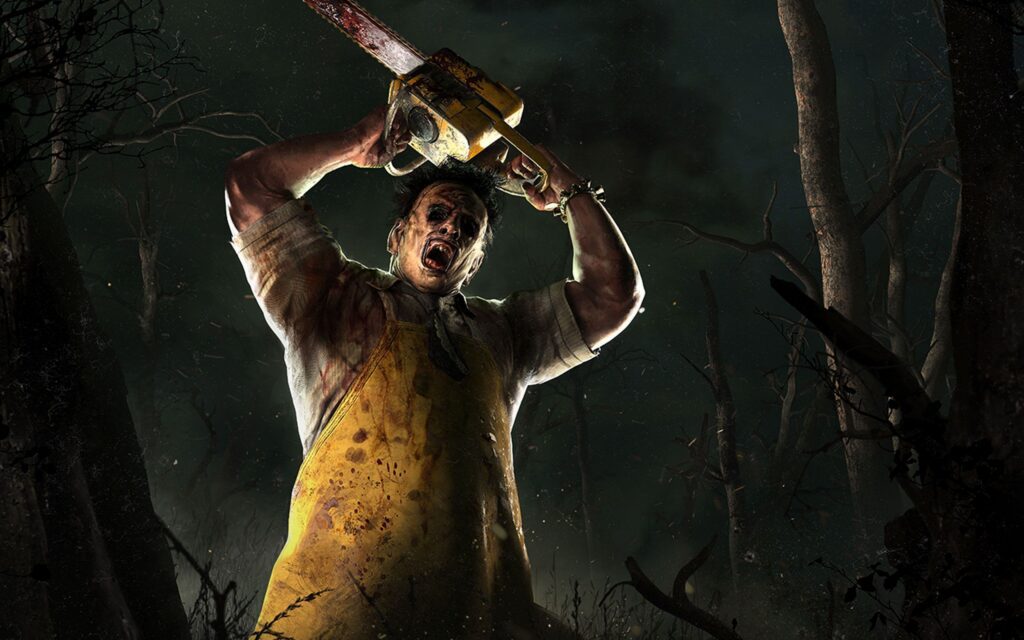
Coming from The Texas Chainsaw Massacre, The Cannibal features a wide “Chainsaw Sweep” that can hit multiple survivors, but he is generally considered inferior to the Hillbilly. He currently holds a 2.69% pick rate and a 46.93% kill rate.
He suffers from a heavy cooldown and significant movement speed penalties during his attack, making him easy to outplay. Alert survivors can often see his attack coming and use windows or obstacles to avoid the sweep.
The Shape (Michael Myers)
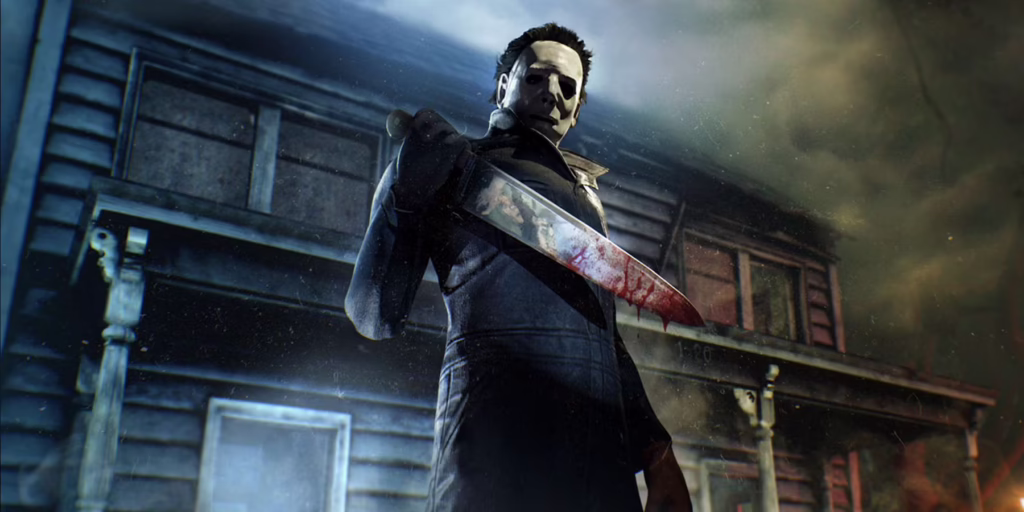
As the legendary Halloween murderer, The Shape starts the match very weak and must stalk survivors to level up his “Evil Within” power. While he recently received an overhaul that improved his performance, he still requires a lot of preparation before he becomes dangerous.
Once he reaches Tier III, all survivors are exposed for 60 seconds, which is his primary window to secure downs. However, the long setup time means he often only becomes a threat in the final moments of a match.
The Demogorgon
Stranger Things’ The Demogorgon has been nerfed by newer releases, as its portals are slow to set up and can be easily destroyed by survivors. Its “Shred” lunge is a decent chase tool, but it is considered clunky compared to newer mobility killers.
While it was once considered one of the most balanced killers, it was hit hard by nerfs to lethality perks like “Save the Best for Last”. It remains fun to play but is often less effective than other killers with similar traversal powers.
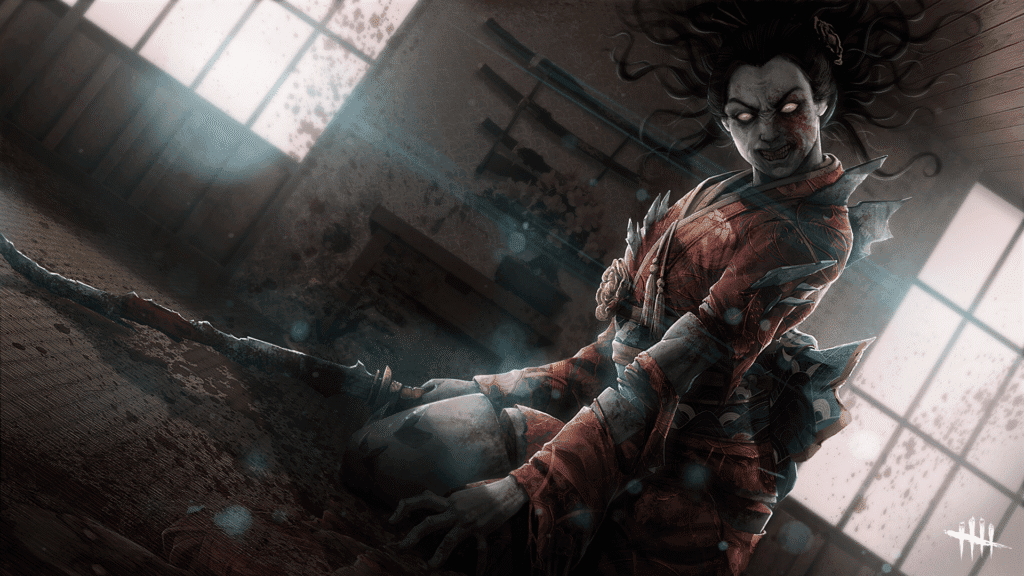
The Onryo (Sadako)
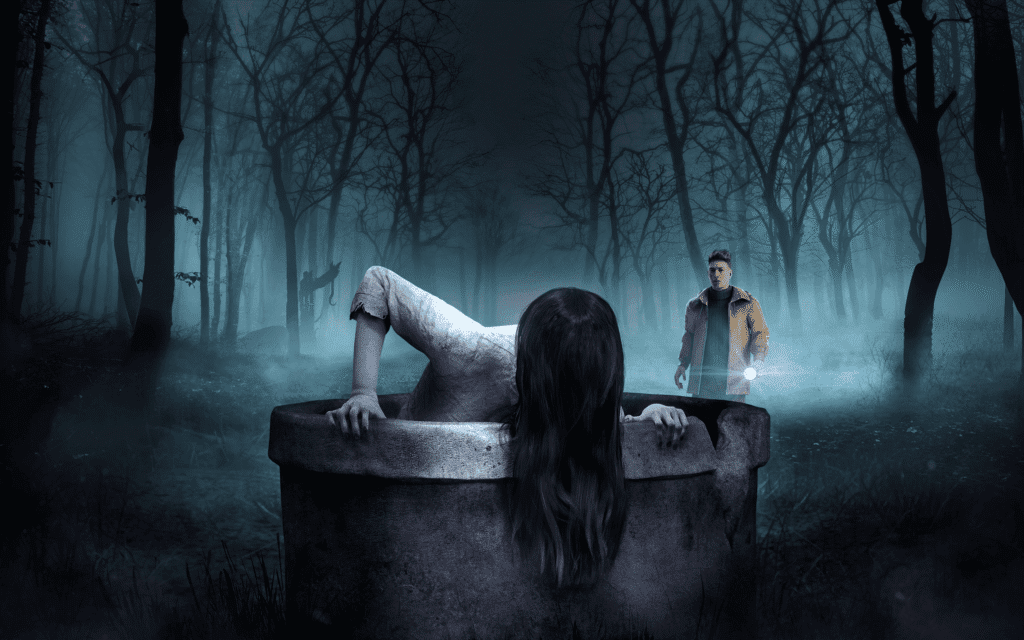
The Ring’s Sadako Yamamura is featured in Dead By Daylight as The Onryo, with a 1.39% pick rate and a 54.17% kill rate, though she is generally disliked because her teleportation is slow and obvious. Survivors can easily counter her by removing tapes from the televisions she uses to travel.
She is regarded as weak in a chase and has a loud lullaby that weakens her stealth potential when she is manifested. Most players find her to be a less effective version of the Spirit.
The Cenobite (Pinhead)
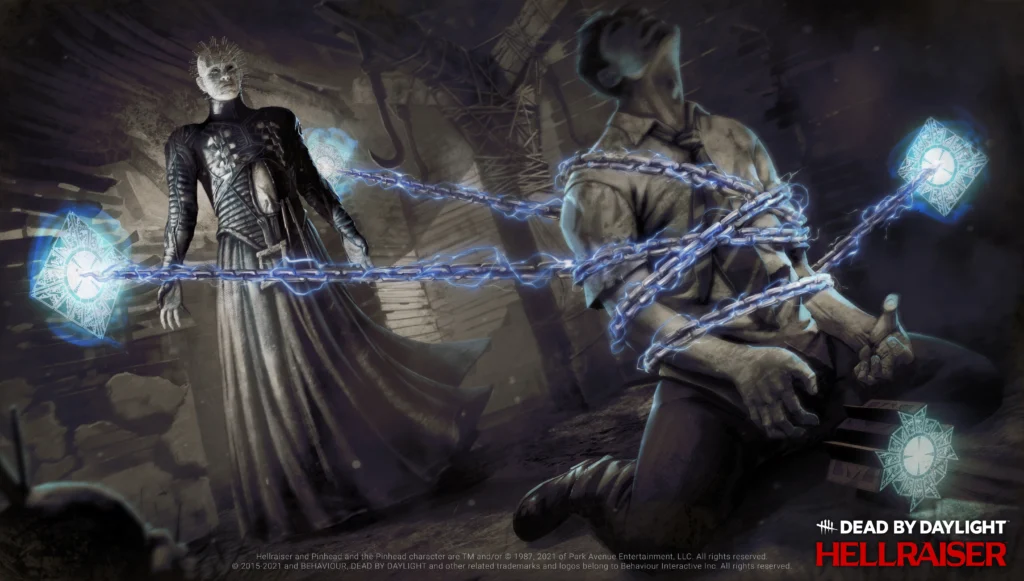
Hellraiser is due to get its own game soon, but Pinhead’s The Cenobite is no stranger to other horror franchises. In battle, he uses chains to hinder survivors, but coordinated teams can effectively neutralize his “Chain Hunt” by solving the puzzle box. His chains are notoriously inconsistent to use and offer very little benefit in a chase without specific add-ons.
He is often considered a run-of-the-mil killer who is frustratingly inconsistent to play. Survivors can further counter him by timing their puzzle solving for moments when he is already busy.
The Trapper
The Trapper is the original DBD killer but has fallen to the bottom with a 2.66% pick rate and a 47.13% kill rate. He must manually find and set traps that are scattered across the map, which costs him valuable time in the early game.
Modern survivor items and perks often allow teams to win before the Trapper has even finished setting up his defense. While he can be powerful if he manages to trap a strong loop, he has lost much of his effectiveness over the years.
The Skull Merchant
The Skull Merchant is currently regarded as the worst killer in the game following severe nerfs to her drones. She holds the lowest pick rate at 0.56% and the lowest kill rate at 42.93% in the entire dataset.
Her primary scanning mechanic is easily avoided by survivors who simply crouch at loops, making her power almost useless. Even after minor buffs, she remains weak in the eyes of many high-level players.
Final Thoughts

The amount of popularity Dead by Daylight has achieved comes primarily from its roster of licensed killers. What started as a small token of appreciation for horror fans has quickly grown into a way to pay homage to great, scary franchises across all media, and now the famous characters far surpass the number of original villains.
Furthermore, every single one of these famous assassins is portrayed in the game in a manner that is faithful to their own lore and canon, which has helped us organize this list. But be warned: just because someone is a B-tier killer, it doesn’t mean your battle will be easy — Dead By Daylight purposefully puts Survivors at a disadvantage, and while some are more powerful than others, they are all more powerful than you.
Dead By Daylight is available for purchase on its own website or all digital stores on Windows, PlayStation 4, Xbox One, Nintendo Switch, Xbox Series X/S and PlayStation 5. Versions for Google Stadia, iOS and Android existed but have since been discontinued.

